Sunday, September 27, 2015

Urban!


Looking for a paper set with a more masculine feel?  If so, you will love Urban! It features industrial designs and the brand new colors, Sapphire, Saffron and Peacock.  Here is the layout I did documenting our visit to all things trains in Pennsylvania and Baltimore.  My man (big boy in this case) is a train collector and enthusiast. Quite honestly, I also enjoyed the museums, especially the two with actual trains!
Urban Workshop of the Go G1103

I used the Urban Workshop on the Go for my layout.  However, since I wanted to use a lot of pictures, I modified a Becky Higgins design and created my own layout with the paper and stamps that come with the kit.  Never be afraid to go with your own instincts when planning your pages...there is no right or wrong in scrapbooking!

Urban Paper Pack X7204B


Tuesday, September 8, 2015

Found Supplies

Let me show you how to take a "found"  supply item and turn it into a fun scrapbook page or card.   We went to a renaissance fair a few weeks ago and I decided that the paper lining my chicken and chips basket would make a perfect background for a page highlighting the event.  I said, "I'm going to ask for a couple sheets of this paper" and Ron said "You're not, are you?".  To which I replied, "Just watch me!".  I offered to pay, but the clerks were happy to give me a couple sheets.
  
I carefully rolled them up, successfully brought them home and created these neat pages.  I wish I had taken pictures before I started working with the papers.  They were thin, almost like vellum, so needed to be adhered to cardstock for stability. Not having any vellum adhesive, I searched my supplies and came upon this spray adhesive.  Outdoors, I sprayed the back of the papers and then carefully adhered them to the cardstock.  I used a brayer to insure good adhesion.  The corners wanted to come up, so I did use a little Liquid Glass from CTMH and that worked perfectly.


I almost always leave a white border around my pictures and this time double matted with Saffron (a lovely new color from CTMH) and Barn Red (unfortunately retired).  Double matting helped them pop off the busy background.  I stamped banners in these two colors with the Bodacious Banners (D1607) stamp set from CTMH.  I stamped them on Colonial White cardstock and hand trimmed them, but there also cutting files on the Art Philosophy Cricut cartridge. I used brads from my stash to separate the pennants and make them pop.


I hope you enjoyed seeing this project and will be on the lookout for "found supplies" for your paper crafting needs!


Thursday, July 30, 2015

Bokeh

Before I tell you about this card done with the Bokeh technique, I first want to welcome you back to my blog.  Life was really full this spring with a family illness and other goings on, and I allowed myself to ignore blogging.  I was inspired by my friend, Laurie, who, after two years, picked up the pieces of her blog.  So here I am with the best of intentions, hoping to continue showing you projects that will inspire your paper crafting!  I encourage you to comment on my posts in any way you choose...I will love your feedback!

Now on to the Bokeh technique.  There are so many tutorials posted on various blogs and YouTube.  This one came up first on my Google search, so these are the directions that inspired me:  http://www.createwithme.com/2014/09/bokeh.html
I used watercolor paper and water colors that were hanging out in my cupboard.  However I am happy to say that both of these items will be available in the new CTMH catalog available September 1st.  I also used one of the stamps from Paper Garden...the September Stamp of the Month.  A happy surprise for me was how the image took on shading from the White Daisy Pigment Ink used on the background.  (I found it best to allow the white pigment to dry overnight before stamping the image)  Be sure to click on the above link to see how easy it is to achieve this look.

For more information about the products used, contact me at suebruch47@gmail.com or visit my website www.suebruch.ctmh.com

Tuesday, November 11, 2014

Chalk it Up Layout

This is the first layout that I have done with the Chalk it Up paper packet..  Some of the papers in this set have a chalkboard appearance, but this one is just fun and is perfect for my grandson's final day of  preschool last year.  I also used Lagoon, Flaxen, Smoothie and Black cardstock.  The title was done on the computer and the cutouts were done on the Cricut machine. 


Chalk it Up Paper Packet X7184B
Chalk it Up Complements X7184C


Chalk it Up Workshop on the Go G1081

Tuesday, October 28, 2014

More Cut Above

When you want to create some gorgeous cards with a minimum of work and time, turn to the Cut Above kits.  I have previously shown you the Christmas kits and today I am showing you one of the everyday kits.  With all the papers precut, you can honestly create the 10 cards in just a few hours.  In addition to the kit, you will also need the accompanying stamp set, White Daisy Pigment Ink and a My Acrylix block.  Contact me to see how you can order yours.


Monday, October 6, 2014

Yuletide Carol

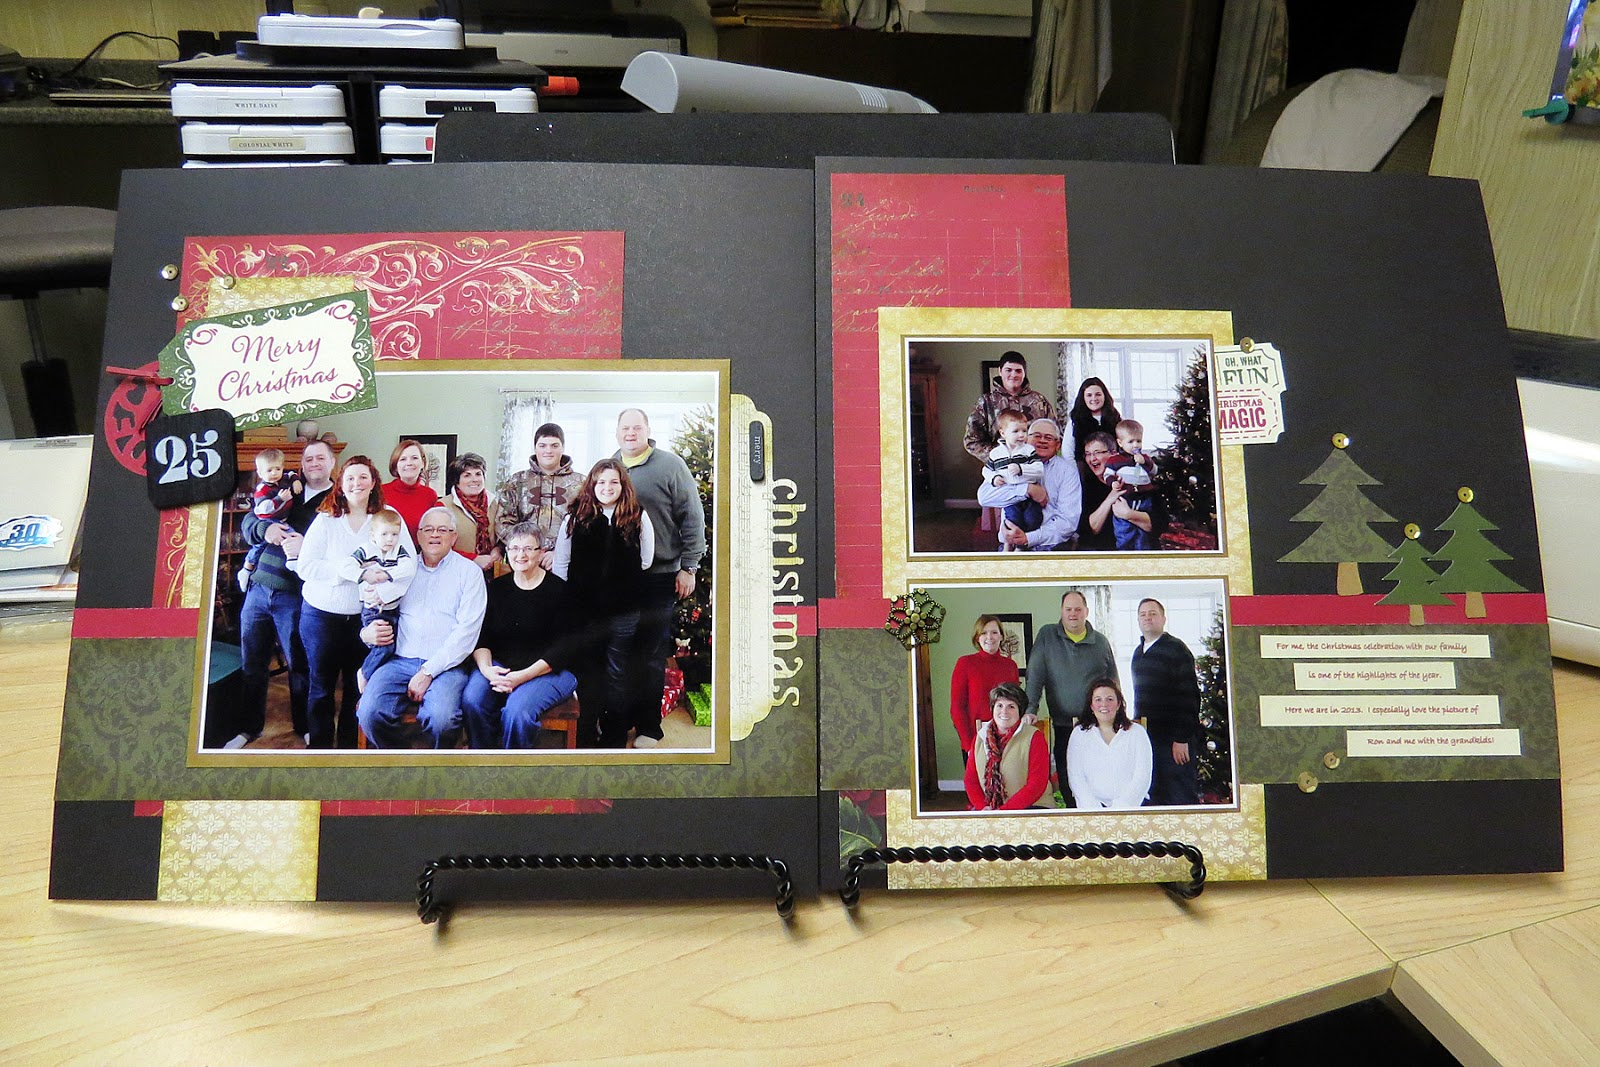
As I mentioned last week, Christmas is coming up and it is not too early to start your paper crafting plans.  I have done a layout from the Yuletide Carol Workshop on the Go showing family pictures from last year.  I love the WOTG kits because everything is there...paper, stamps, embellishments and detailed instructions!  I would never think of all the great creative ideas given in the instructions!  This layout uses several Cricut cutouts, but there are instructions on how to create an equally gorgeous layout with regular manual cuts.

Sunday, October 5, 2014

Scaredy Cat!

I love the Halloween themed paper offered by Close to My Heart this fall.  But if you look closely you will see that the small patterns can be used for many everyday projects.  Today I am showing you three cards for Halloween.  The two on the outside use Scaredy Cat and the Halloween Greetings stamp set.  I also used Black Shimmer Trim and an assortment of embellishments from CTMH.  The middle card was cut with Artfully Sent, our newest Cricut cartridge. It is geared towards the card maker and is loaded with possibilities!  I hope to see you at my Open House on Wednesday where I will be showing even more creative projects.